


So to help the reader out, let me finish up now.
 Once the glue is good and dry, in this case, about a week later...it's time to grout. I'd like to point out that letting the glue dry completely is very important, especially on a wood base like this headboard. If you try to grout too soon, the wood will warp. I don't know exactly why this happens, but I have made this mistake several times on wooden bases like table tops, a lazy susan and a wooden sign. It's a strange reaction too, because it doesn't happen right away. It will be about a week later that you notice the grout cracking apart and the wood curving. Eventually, it will dry out and curve back into place, but by that time, the grout will be compromised and you will need to re-do it, so by all means, just wait and let the glue cure for longer than the recommended time on the packaging. As my dear mentor/professor in college used to say, "Perfection takes a little longer."
I have read a few theories about choosing a grout color, but I just go with my gut. I tend to like darker colors over light ones, which for me tend to look too baby sweet. I like the more serious even masculine look of darker grout because I think it brings a contrast to the very feminine look of floral china. More important than the color is the choice between sanded or unsanded grout. I have used both and let me tell you, sanded grout is just much easier to work with for me. Unsanded grout is best for very small spaces between pieces. It cannot be used on a mosaic with a space of more than 1/8 of an inch. I only really use it for non-functional 2 dimentional framed work and even then , I don't really love it.
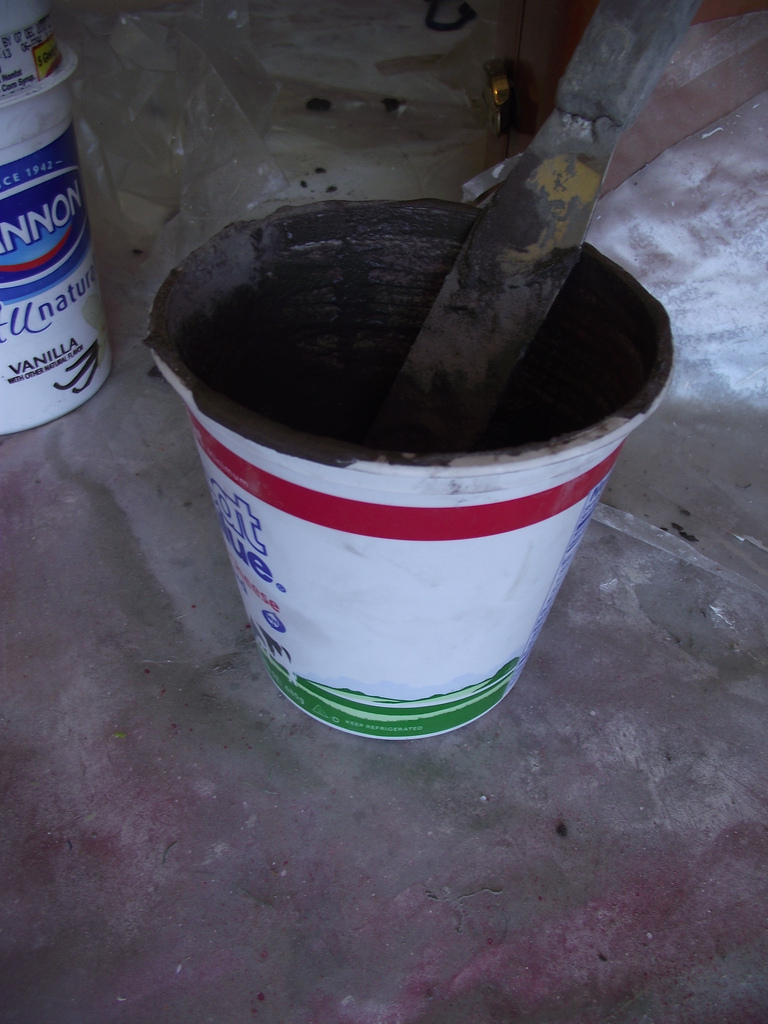
 So on this project, I used sanded grout. I mixed several batches since it does begin to dry out after 15 or 20 minutes, so making batches gave me a longer working time. I mix in large yogurt tubs since our recycling center doesn't take number 5 and 6 plastic. I fill the cup and then add water slowly, mixing it to the consistency somewhere between peanut butter and yogurt.
 Grouting is easily the messiest part of the whole deal, so work somewhere with the floor draped in plastic, and where you don't mind sweeping up a lot of sand and particles. It's not as messy as dry-walling, but it's pretty close.
Slowly work the grout in, in a circular motion, squeezing it into every crack. As it dries, the grout becomes more like the consistency of cake icing with the sand like undissolved sugar. The sand is abrasive, so be mindful of your china and try not to rub it hard over hand-painted porcelain and other delicate surfaces because it will remove the pattern if you are too zealous. This is an exciting part of the project because you are getting your first glimpse of the finished product. As you work the grout into the gaps, the grout will begin to dry with a bit of a frost over the surface of the china. As this begins to happen, use a dry sponge or my favorite...old mismatched socks to begin to buff the grout off the china. Do not use a wet sponge at this point because it will smear too much.


After the grout dries, you may want to seal the grout. This is the final step. It isn't strictly necessary on this kind of piece which isn't really going to see a lot of water, like a birdbath or mailbox, but I did go ahead and seal it with a grout sealer just to make it really tight.
Grout sealer can be painted on with a soft brush or you can buy spray on. The benefit of the brush on is that you get more control. The benefit of the spray on is that you can use it right away, and not have to wait until the grout cures for 24 hours or more. The most important part of grout sealing is to keep your head in the game and not let it dry on the china and make it cloudy. If that happens, you can scrub it off with a paste of baking soda and water, but really, after you have worked this hard, you don't want to be scrubbing more at this point. Use more socks or ripped up t-shirts to finish buffing, and then touch up any paint that was damaged during grouting.

4 comments:
This bed is absolutely gorgeous!
Stunning!
How about its weight! I am worried about this. But the Grout Sealing was perfect.
Jessica@ GroutSolutionsPerthwa
Pengobatan Penyakit Kelamin..
luka kelamin karena sipilis
Obat Gonore Kencing Nanah
Obat Gonore Kencing Nanah
Cara Mengobati Kanker Payudara
Cara Mengobati Kanker Payudara
Memilih Obat Raja Singa Pada Wanita
Mencari Obat Sipilis Herpes Dan Kencing Nanah
jerawat pada kelamin
jual obat sipilis
Cara Mengobati Kanker Payudara
Obat Gonore Kencing Nanah
mengobati sipilis dengan cepat
kenapa nanah keluar dari kelamin
Penyakit Menular Raja Singa Obati Dengan Gang Ji Gho Siah
mengobati sipilis dengan cepat
Cara Mengobati Kanker Payudara
Kelamin Saya Mengeluarkan Nanah Obatnya Apa
Post a Comment